Wie können wir helfen?
Enable Lobby (Waiting Room)
- Access Talk
You must be an active user (sign up for subscription packages here) and have Talk included in your package (view details here). Launch CAMPUS (log in here) and click the Talk icon in the top menu bar: (or click here).
Tip: Here you’ll find instructions on how to create a group chat.
- Overview of a group chat
Your screen will then display a brief welcome message and, usually on the left side, an overview of your existing group chats
Click to enlarge
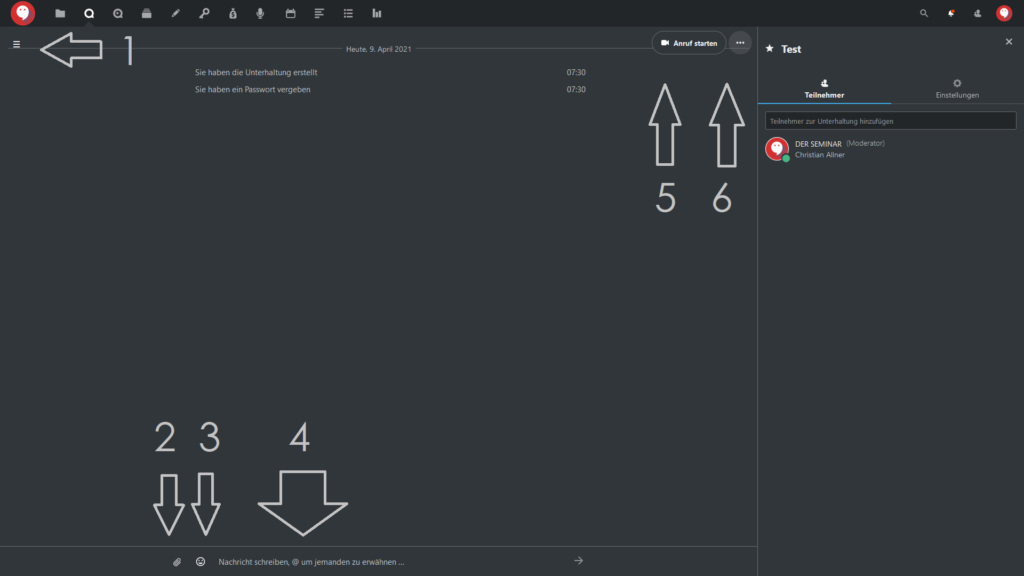
In a group chat, you’ll see the following elements:
The ≡ icon with the left-hand menu bar (overview of all group chats and the option to create new ones via the + button)
Upload and insert files in the chat
Insert emojis in the chat
Type text in the chat
Start a video or audio call
Additional settings
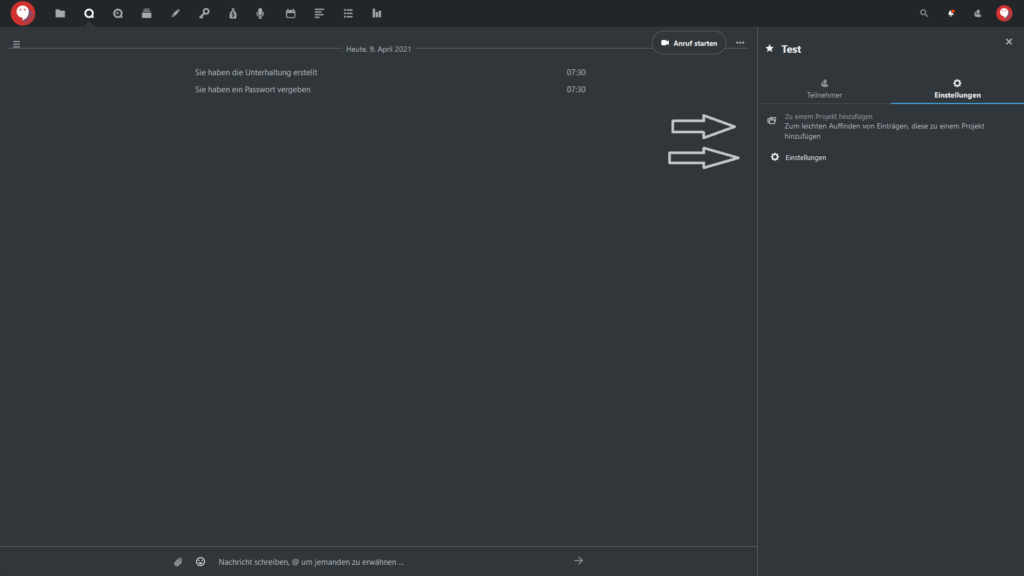
- Access settings via “…”
To the right of the “Start Call” button, click on “…” to access additional settings for Talk, specifically:
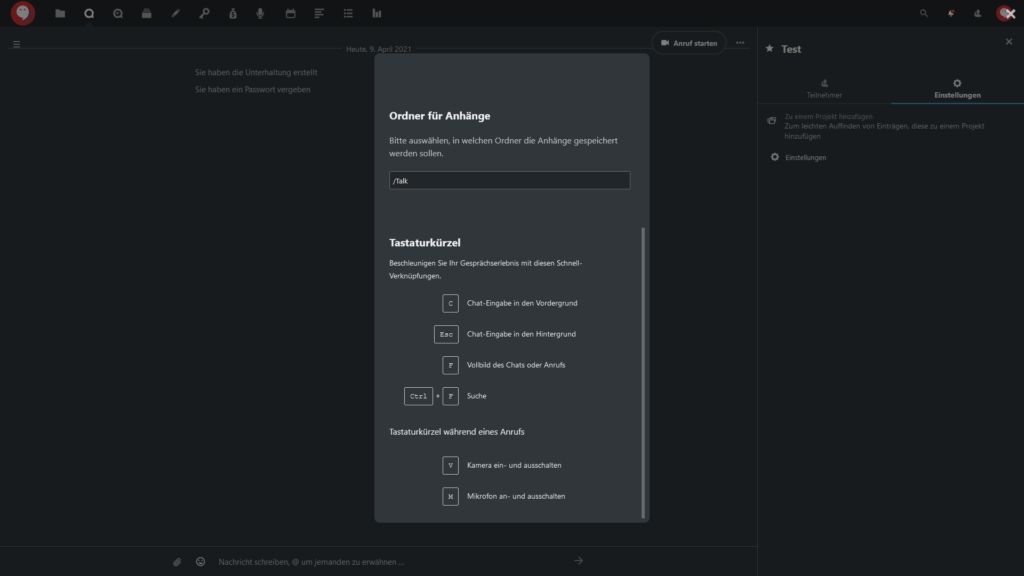
Full Screen: The chat window expands to full-screen view. You can exit this view by pressing the “f” key, or alternatively, press the “Esc” key
Rename Conversation: You can give the group chat a different name
Share Link: You can enable or disable the option to join a group chat only via a link
Copy link: Only available if “Share link” is enabled; the join link is automatically saved to your clipboard
Password protection: You can set a password to provide additional security for the group chat
Enable lobby: You can start a lobby feature; participants in your chat will wait in a digital lobby until you, as the host, start the group chat.

Click to enlarge
- Enable Lobby
Click the “…” menu in the top-right corner.
Click “Enable Lobby”
Lobby is enabled
You can optionally enter a start date
Important note: If you restricted access to moderators only when creating the room, you must appoint your guests as moderators (you can do this by clicking on “…” to the right of the guest’s name in the participant list and then clicking “Appoint as moderator”).
Click to enlarge
- Enable Lobby
Click the “…” menu in the top-right corner.
Click “Enable Lobby”
Lobby is enabled
You can optionally enter a start date
Click to enlarge
- Enable Lobby
Click the “…” menu in the top-right corner.
Click “Enable Lobby”
Lobby is enabled
You can optionally enter a start date
Step 1 (click here to enlarge)
Step 2 (click here to enlarge) 1
Step 3 (click here to enlarge)
Step 4 (click here to enlarge)

Click to enlarge Click to enlarge Click to enlarge