Maybe we can help?
Create appointments
1. Select a calendar
You must be an active user (sign up for subscription packages here)and have Talk included in your package (see overview here). Launch CAMPUS (Log in here)and click the calendar icon in the top menu bar: (or click here).
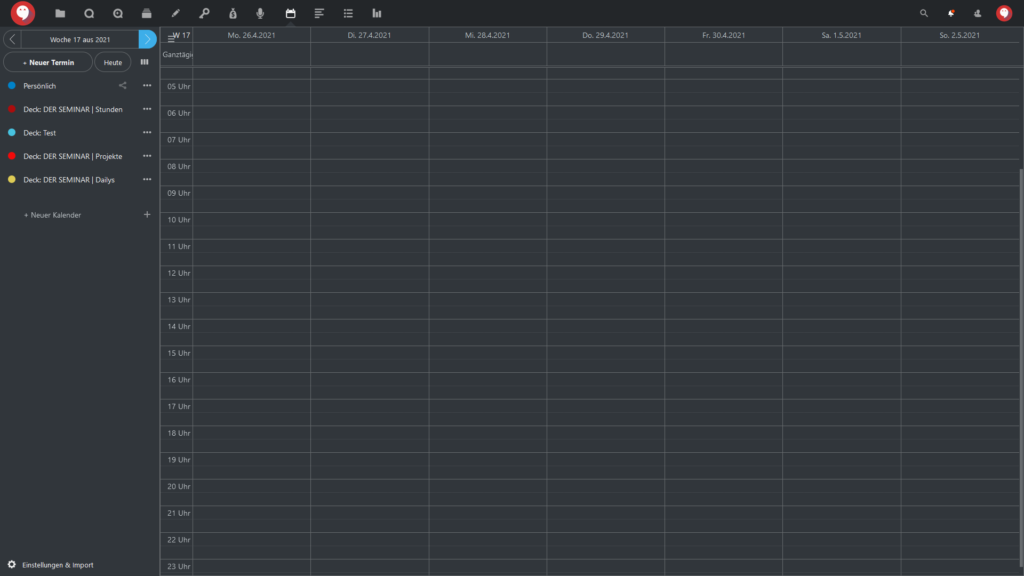
Your screen will then display an overview showing the current calendar week:
Click to enlarge.
If the left-hand menu bar is not visible, click the ≡ icon. The bar will then appear.
You can set the date and view options in the left-hand menu bar. You can also use the ||| icon to switch between day, week, month, and other views.
2. Create a calendar entry
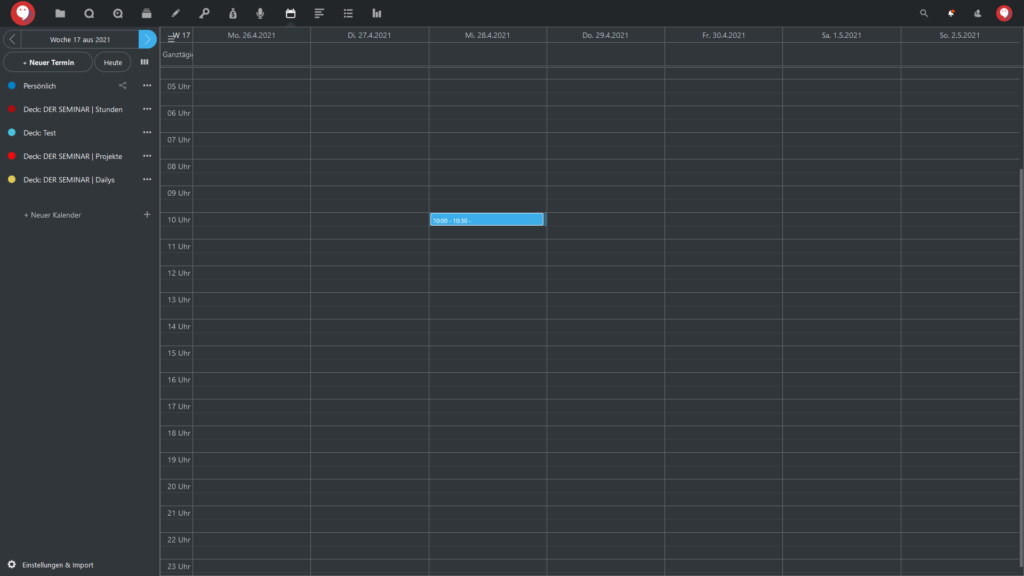
Click either “+ New Appointment” in the left-hand menu bar or the desired date and time in the calendar view itself:
Click to enlarge.
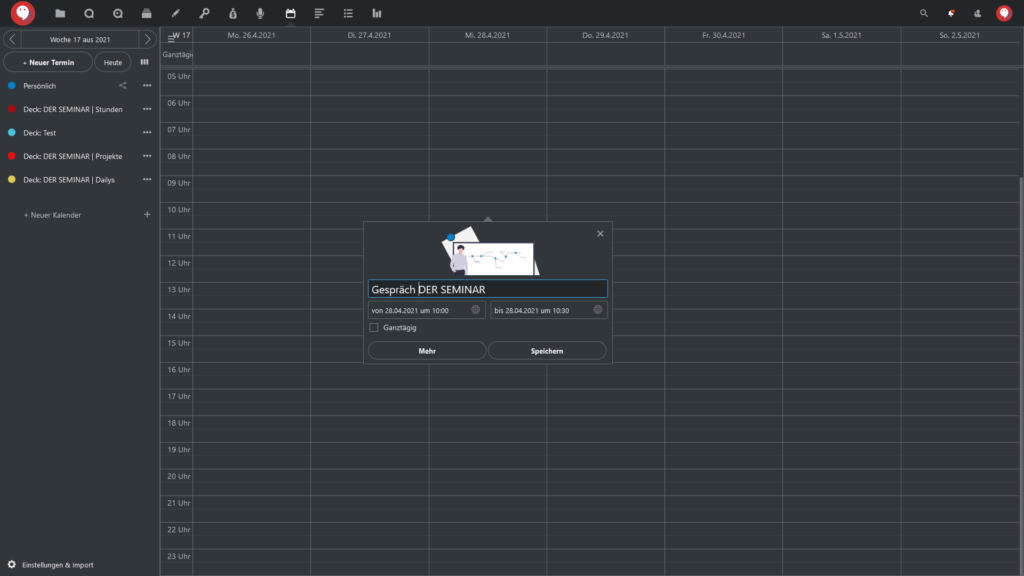
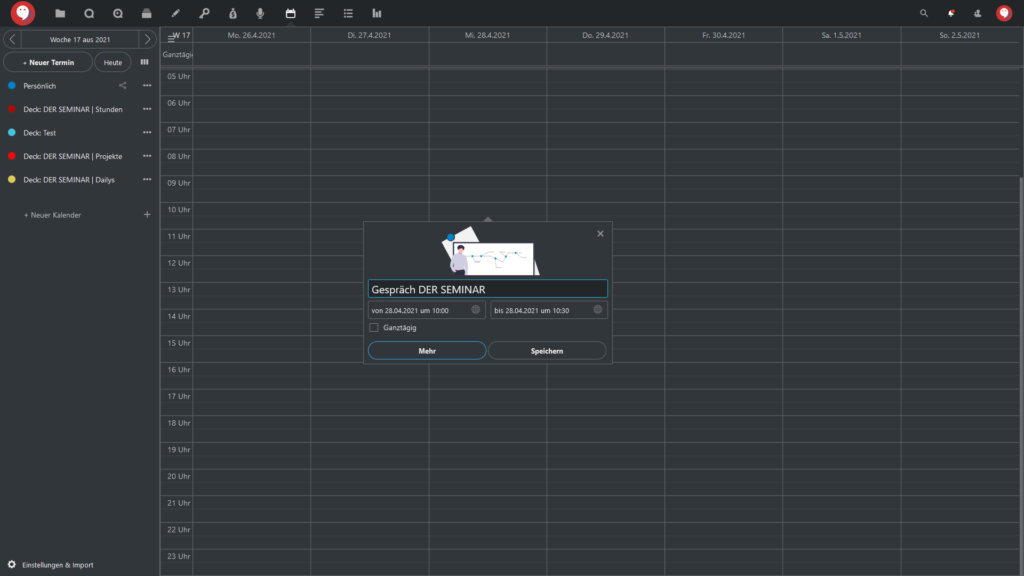
As soon as you want to create a calendar entry, the editing window will open. First, enter the desired name for your event (Step 1). Depending on the keywords you enter, the graphic may change (Step 2). For additional settings, click “More” (Step 3).
-

- Zum Vergrößern anklicken. (Schritt 1)

-
- Zum Vergrößern anklicken. (Schritt 2)
-
- Zum Vergrößern anklicken. (Schritt 3)
3. Set “More” in the calendar entry
After you click “More” while creating a calendar entry, a new menu will open on the right where you can adjust various settings, such as the date and time.
3.1 Edit details
By default, the “Details” tab opens in the calendar entry settings, where you can:
- Location,
- Description,
- Confirmation for the event,
- Display options for shared events,
- Responses to an event invitation (Busy, etc.),
- Tags, and
- Color coding for the event.
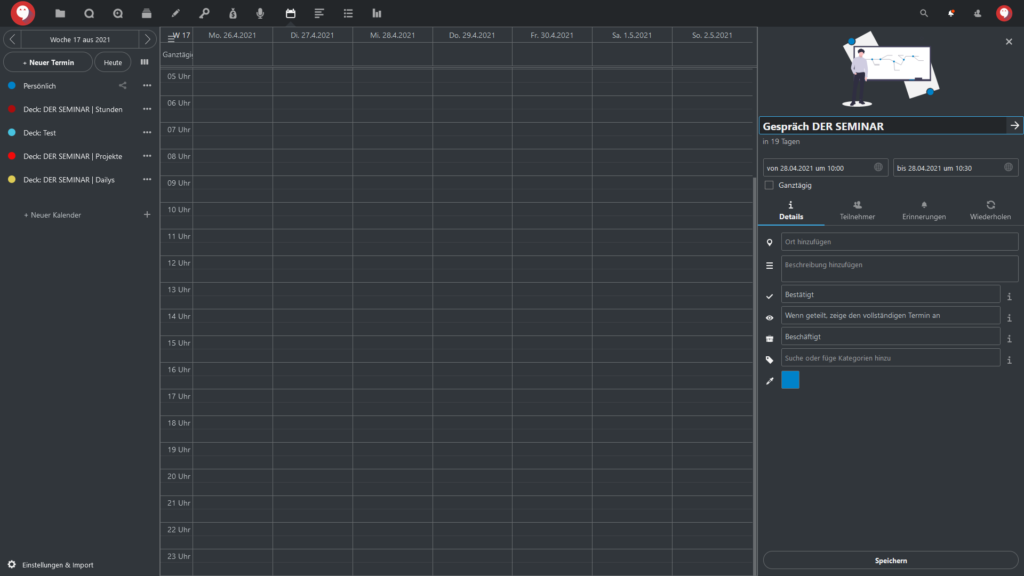
Zum Vergrößern anklicken.
3.2 Edit participants
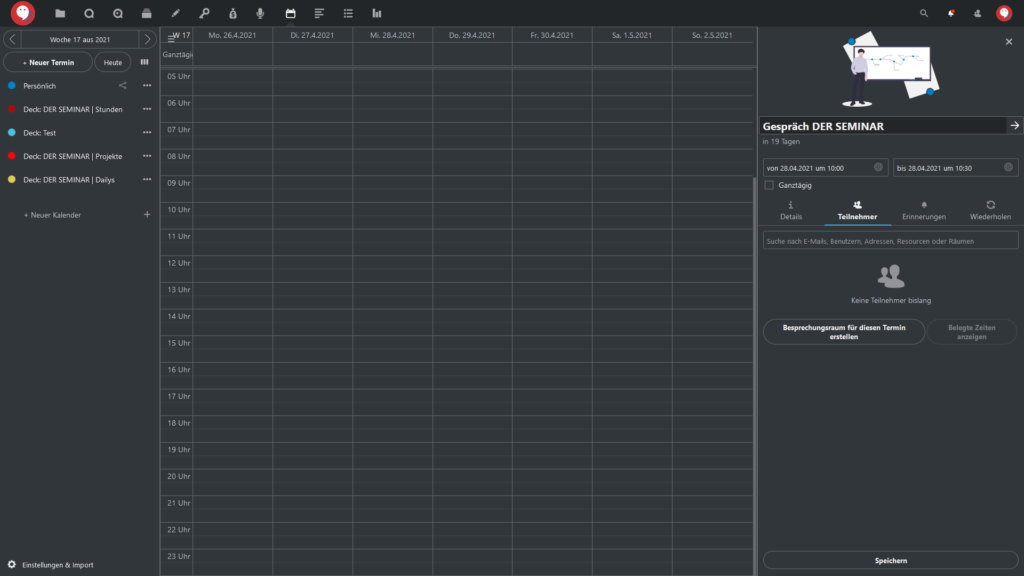
On the next tab, “Participants,” you can invite participants to the event. Participants can be:
- users already registered with CAMPUS, or
- email addresses (which will then automatically receive an invitation to the event)
-
- Zum Vergrößern anklicken.
-
- Zum Vergrößern anklicken.

-
- Zum Vergrößern anklicken.
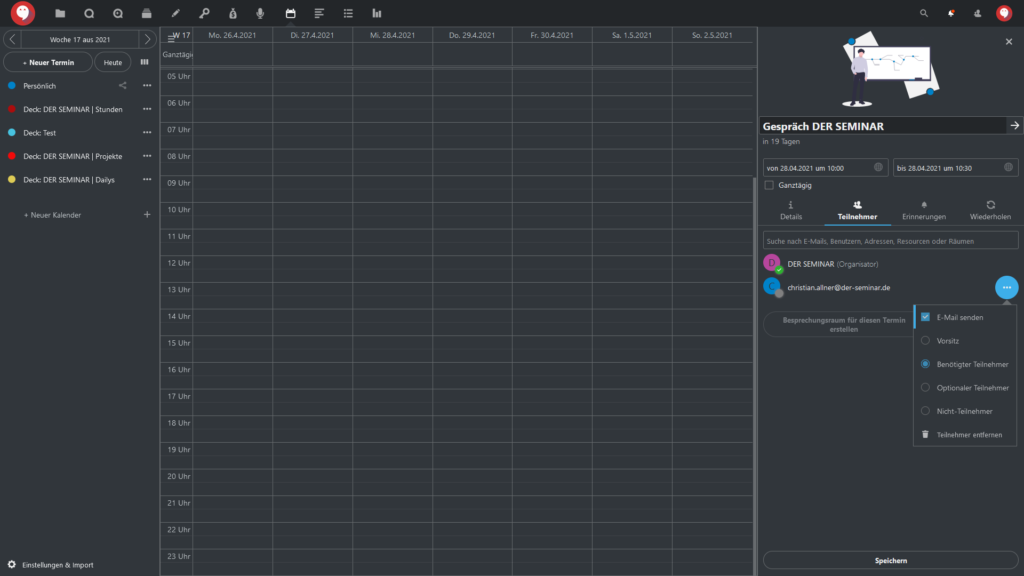
After you’ve added participants, you can also edit the information they’ll receive:
- Send an email (with an invitation to the appointment)
- Set status (should the participant “chair” the meeting, or is he or she a “required participant,” “optional participant,” or “non-participant,” depending on the status; you can also remove participants at any time)
3.3Create a meeting room in Talk for participants
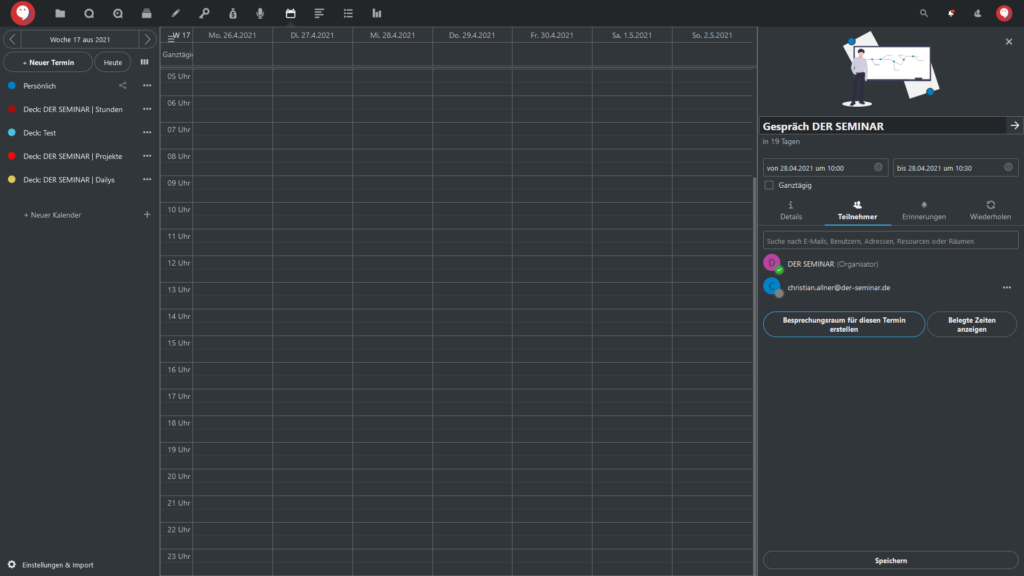
In the “Participants” tab, you can also “Create a meeting room for this event.” All you have to do is click the button with that name, and Talk will automatically create a group chat with the name of the event (in our example, “DER SEMINAR”).
-
- Zum Vergrößern anklicken.
-
- Zum Vergrößern anklicken.
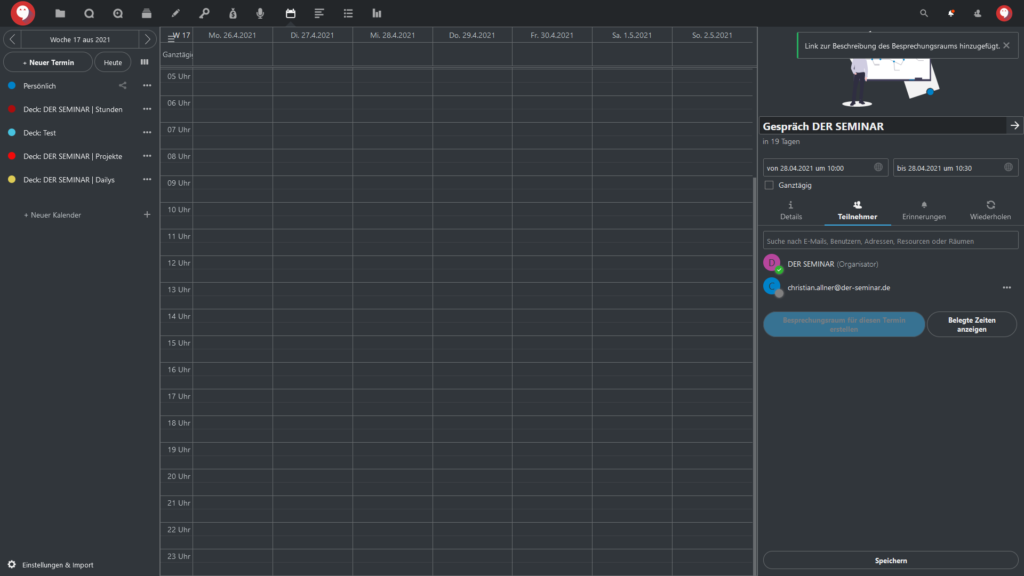
The link to the chat conversation will then be automatically saved in the “Details” tab.
3.4 Edit memories
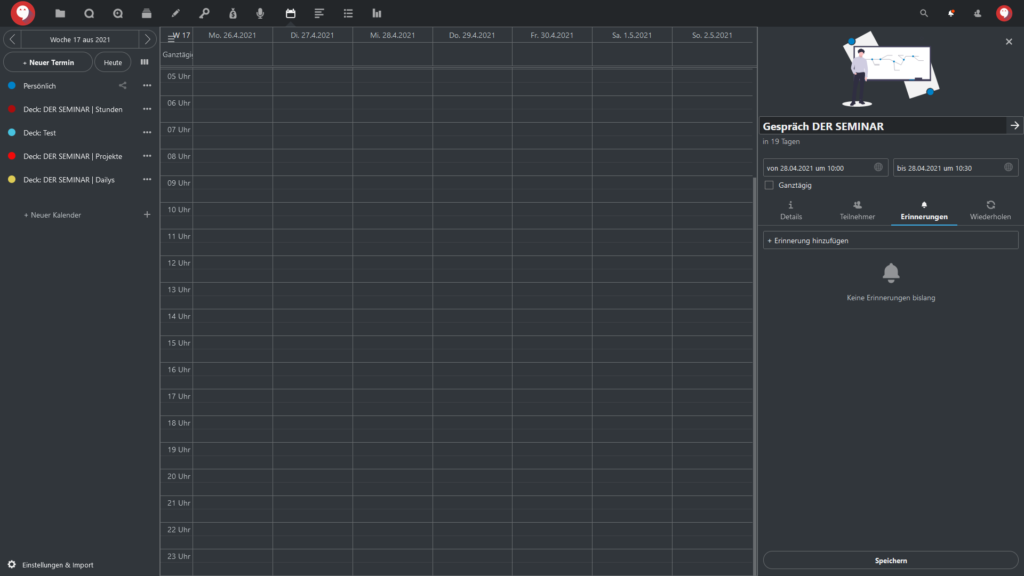
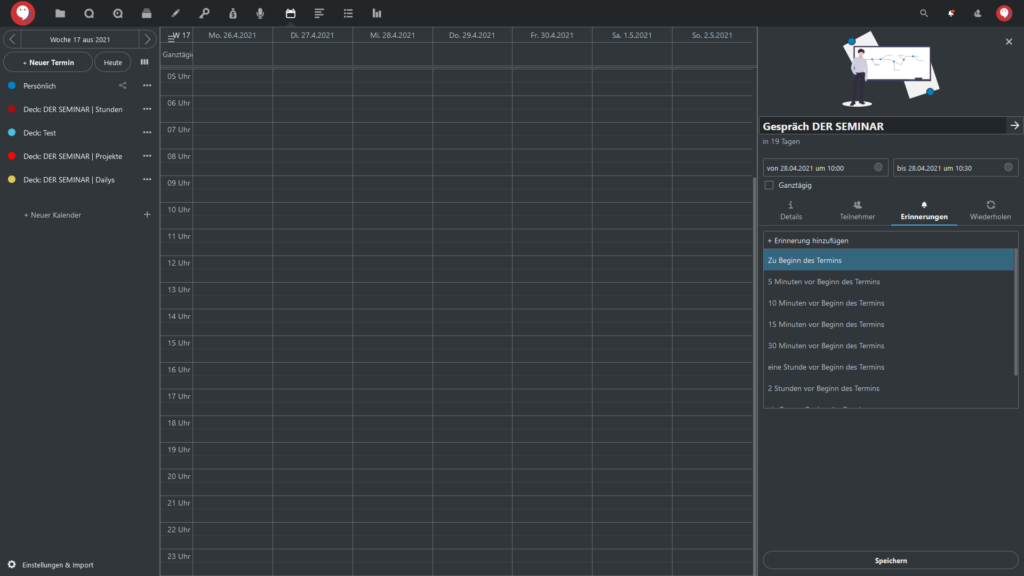
In the “Reminders” tab, you can choose whether you want to be reminded before the appointment starts. You can set:
- At the start of the appointment
- 5 minutes before the start of the appointment
- 10 minutes before the start of the appointment
- 15 minutes before the start of the appointment
- 30 minutes before the start of the appointment
- 1 hour before the start of the appointment
- 2 hours before the start of the appointment
- 1 day before the start of the appointment
- 2 days before the start of the appointment
-
- Zum Vergrößern anklicken.
-
- Zum Vergrößern anklicken.
3.5 Reschedule the appointment
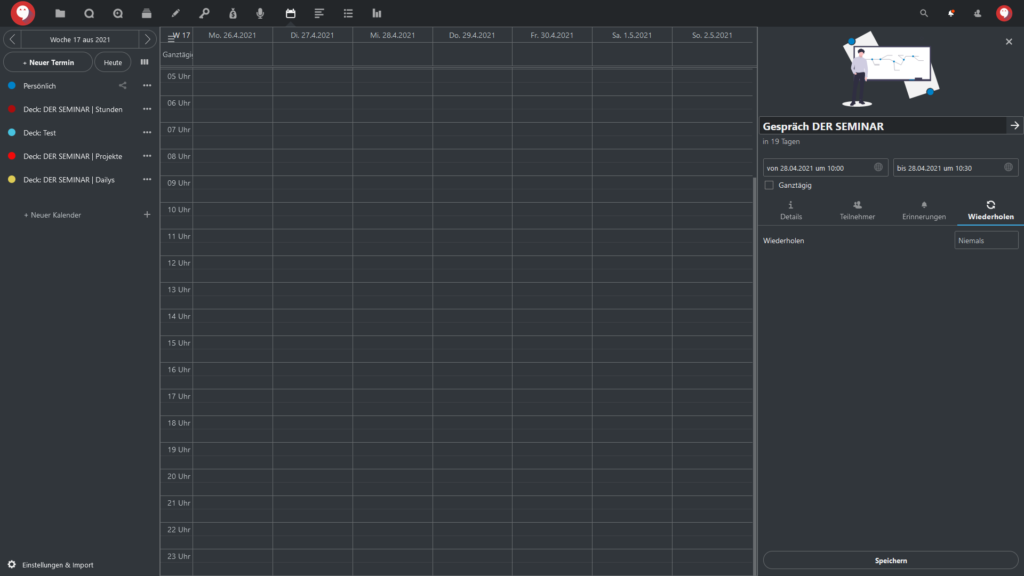
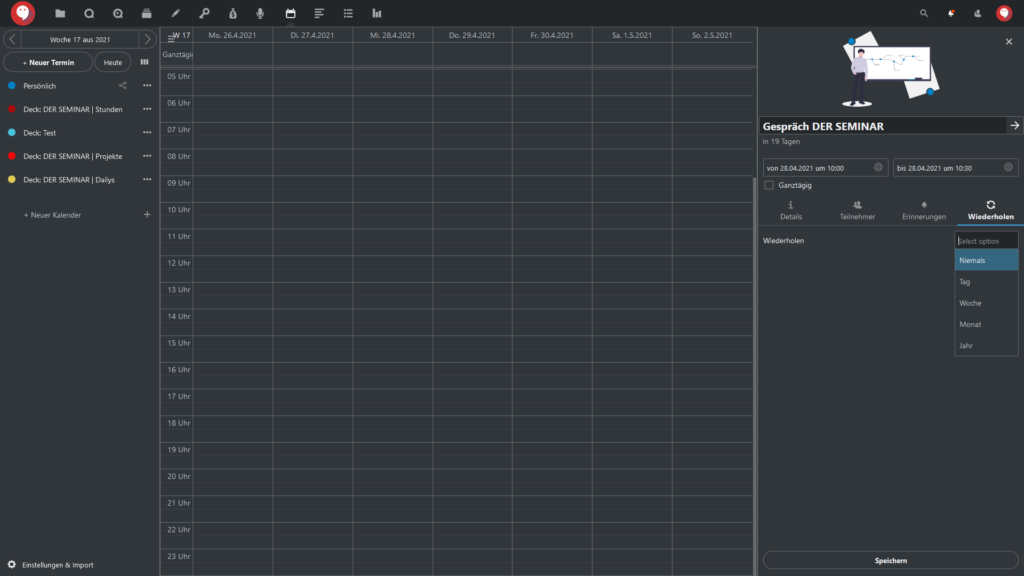
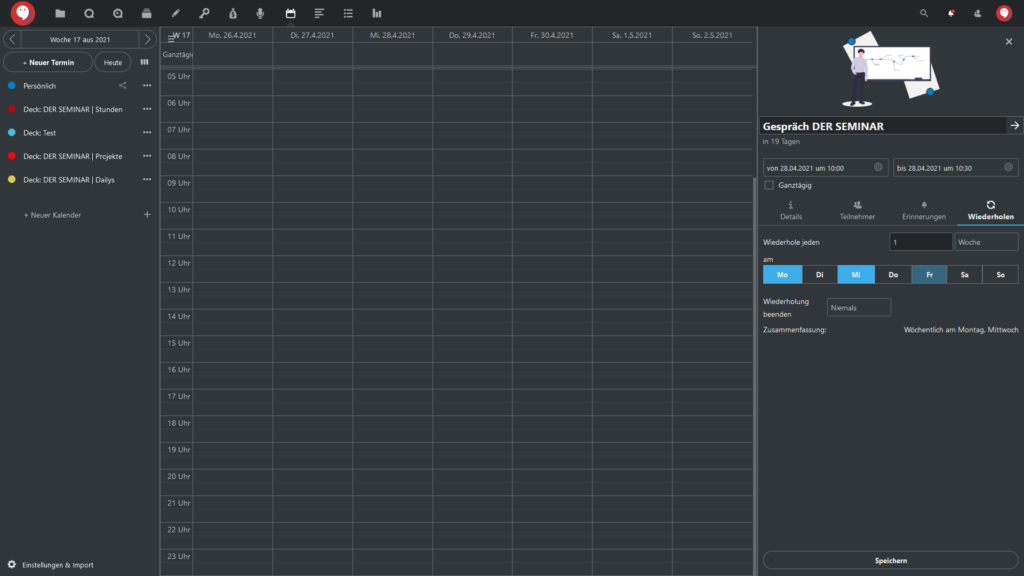
In the “Recurrence” tab, you can specify whether and how often the appointment should recur; for example, weekly on Fridays, monthly on the 8th, annually, and so on.
-
- Zum Vergrößern anklicken
-
- Zum Vergrößern anklicken
-
- Zum Vergrößern anklicken
Video tutorial
Find out how to reschedule appointments here!
https://anhaltintelligence.com/?post_type=epkb_post_type_1&p=22858&preview=true
