Maybe we can help?
How do I share a chart I’ve created?
You can access the list described in “Create Diagram” in the corresponding destination folder by reloading the previous page (Folder in “Files”). Here you will find the diagram you recently created and saved. This article explains how to share this diagram.
If you now want to share this file, follow the same steps used for other files. On the right side of the row displaying your chart file, you’ll find a share icon.

Once you select this button, an overlay will open on the right side of the screen, listing the various sharing options:
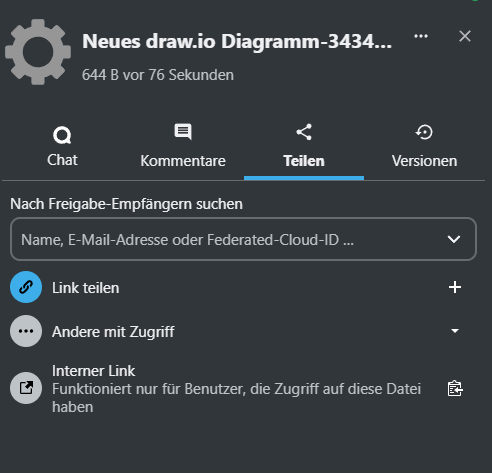
- Search for sharing recipients: Selecting this option opens a list of all your contacts within CAMPUS. Here, you can easily grant specific users access to the chart, after which it will be shared.
- Share link: Selecting this option generates a link to the chart and automatically saves it to your clipboard. Various additional sharing permissions can be assigned to this link, such as whether the chart is read-only or editable. Additionally, custom permissions can be assigned.
- Others with access: This displays a list of which CAMPUS users have already been granted access to the file.
- Internal link: This creates a link that is only accessible to CAMPUS users who have been granted access to the file in advance. Compared to the “Share link” option, this offers greater security, as external users cannot access the link.
